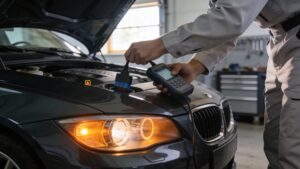

That check engine light usually shows up at the worst time. You’re filling up more often, the car feels a little lazy pulling away from a stop, and now you’re wondering if this is a simple Saturday fix or the start of an expensive exhaust repair.
A lot of Dallas drivers land on the same question. Should you change oxygen sensor yourself, or is this one of those jobs that looks easy online but turns ugly under a real car with real miles on it? The answer depends less on courage and more on diagnosis, access, rust, tools, and how much risk you’re willing to accept.
An O2 sensor replacement can be straightforward. It can also turn into a seized-thread battle that ends with a damaged bung, a broken sensor shell, and a car stuck on stands. The smart move is knowing the difference before you commit.
That Annoying Check Engine Light and Your Wallet
You notice it on a busy Dallas morning. The check engine light stays on, the gas tank seems to empty faster than it should, and now you are weighing two costs at once. The price of a sensor, or the price of waiting too long and letting a small drivability problem turn into a bigger repair.
An oxygen sensor is a wear item, but it is also a decision point. Some replacements are straightforward, especially on a vehicle with good access and clean exhaust threads. Others turn into a fight fast. I have seen simple O2 sensor jobs become broken-sensor extractions because the part had been heat-cycled in place for years.
That is why the smart question is not just, “How do I change oxygen sensor?” The better question is whether your car, tools, and time make this a realistic DIY job.
A weak or failed sensor can cause poor fuel control, rough idle, sluggish response, and emissions trouble. It can also send people down the wrong path. Plenty of drivers buy a new sensor first, install it, and still have the same warning light because the underlying issue was wiring damage, an exhaust leak, or a different engine issue altogether.
The money side matters. Replacing the right sensor at the right time can save fuel and help you avoid repeat visits for the same light. Replacing the wrong part wastes cash. For Dallas drivers who depend on a work truck, delivery van, or small fleet vehicle, that downtime often costs more than the sensor itself.
Why drivers put it off
O2 sensor problems usually creep in. The car still runs, so it is easy to keep driving and hope the light clears on its own. Then inspection time gets close, fuel mileage keeps slipping, or the car starts feeling lazy in traffic.
Here is the practical trade-off:
- DIY makes sense if you have a confirmed sensor code, safe access to the vehicle, the right O2 sensor socket, and a sensor that looks likely to come out without a battle.
- Call a pro if the sensor is buried, the exhaust is heavily corroded, the threads may be seized, or the vehicle cannot be down for long.
- Fleet owners should think in uptime first. One stuck sensor on a service vehicle can cost more in lost work than the labor charge to have it handled quickly.
Practical rule: Diagnose first. Buy parts second.
If you are still sorting out whether the light points to an oxygen sensor or something else, start with a proper check engine light diagnostic guide. That helps you decide whether this is a solid Saturday project or a job better handed to a shop with the tools to deal with seized sensors and exhaust-thread problems.
Decoding the Clues Your Car Is Giving You
You plug in a scanner, see an oxygen sensor code, and the temptation is to order a part right away. That is where Dallas DIY jobs go sideways. The code gives you a direction, not permission to skip the rest of the diagnosis.
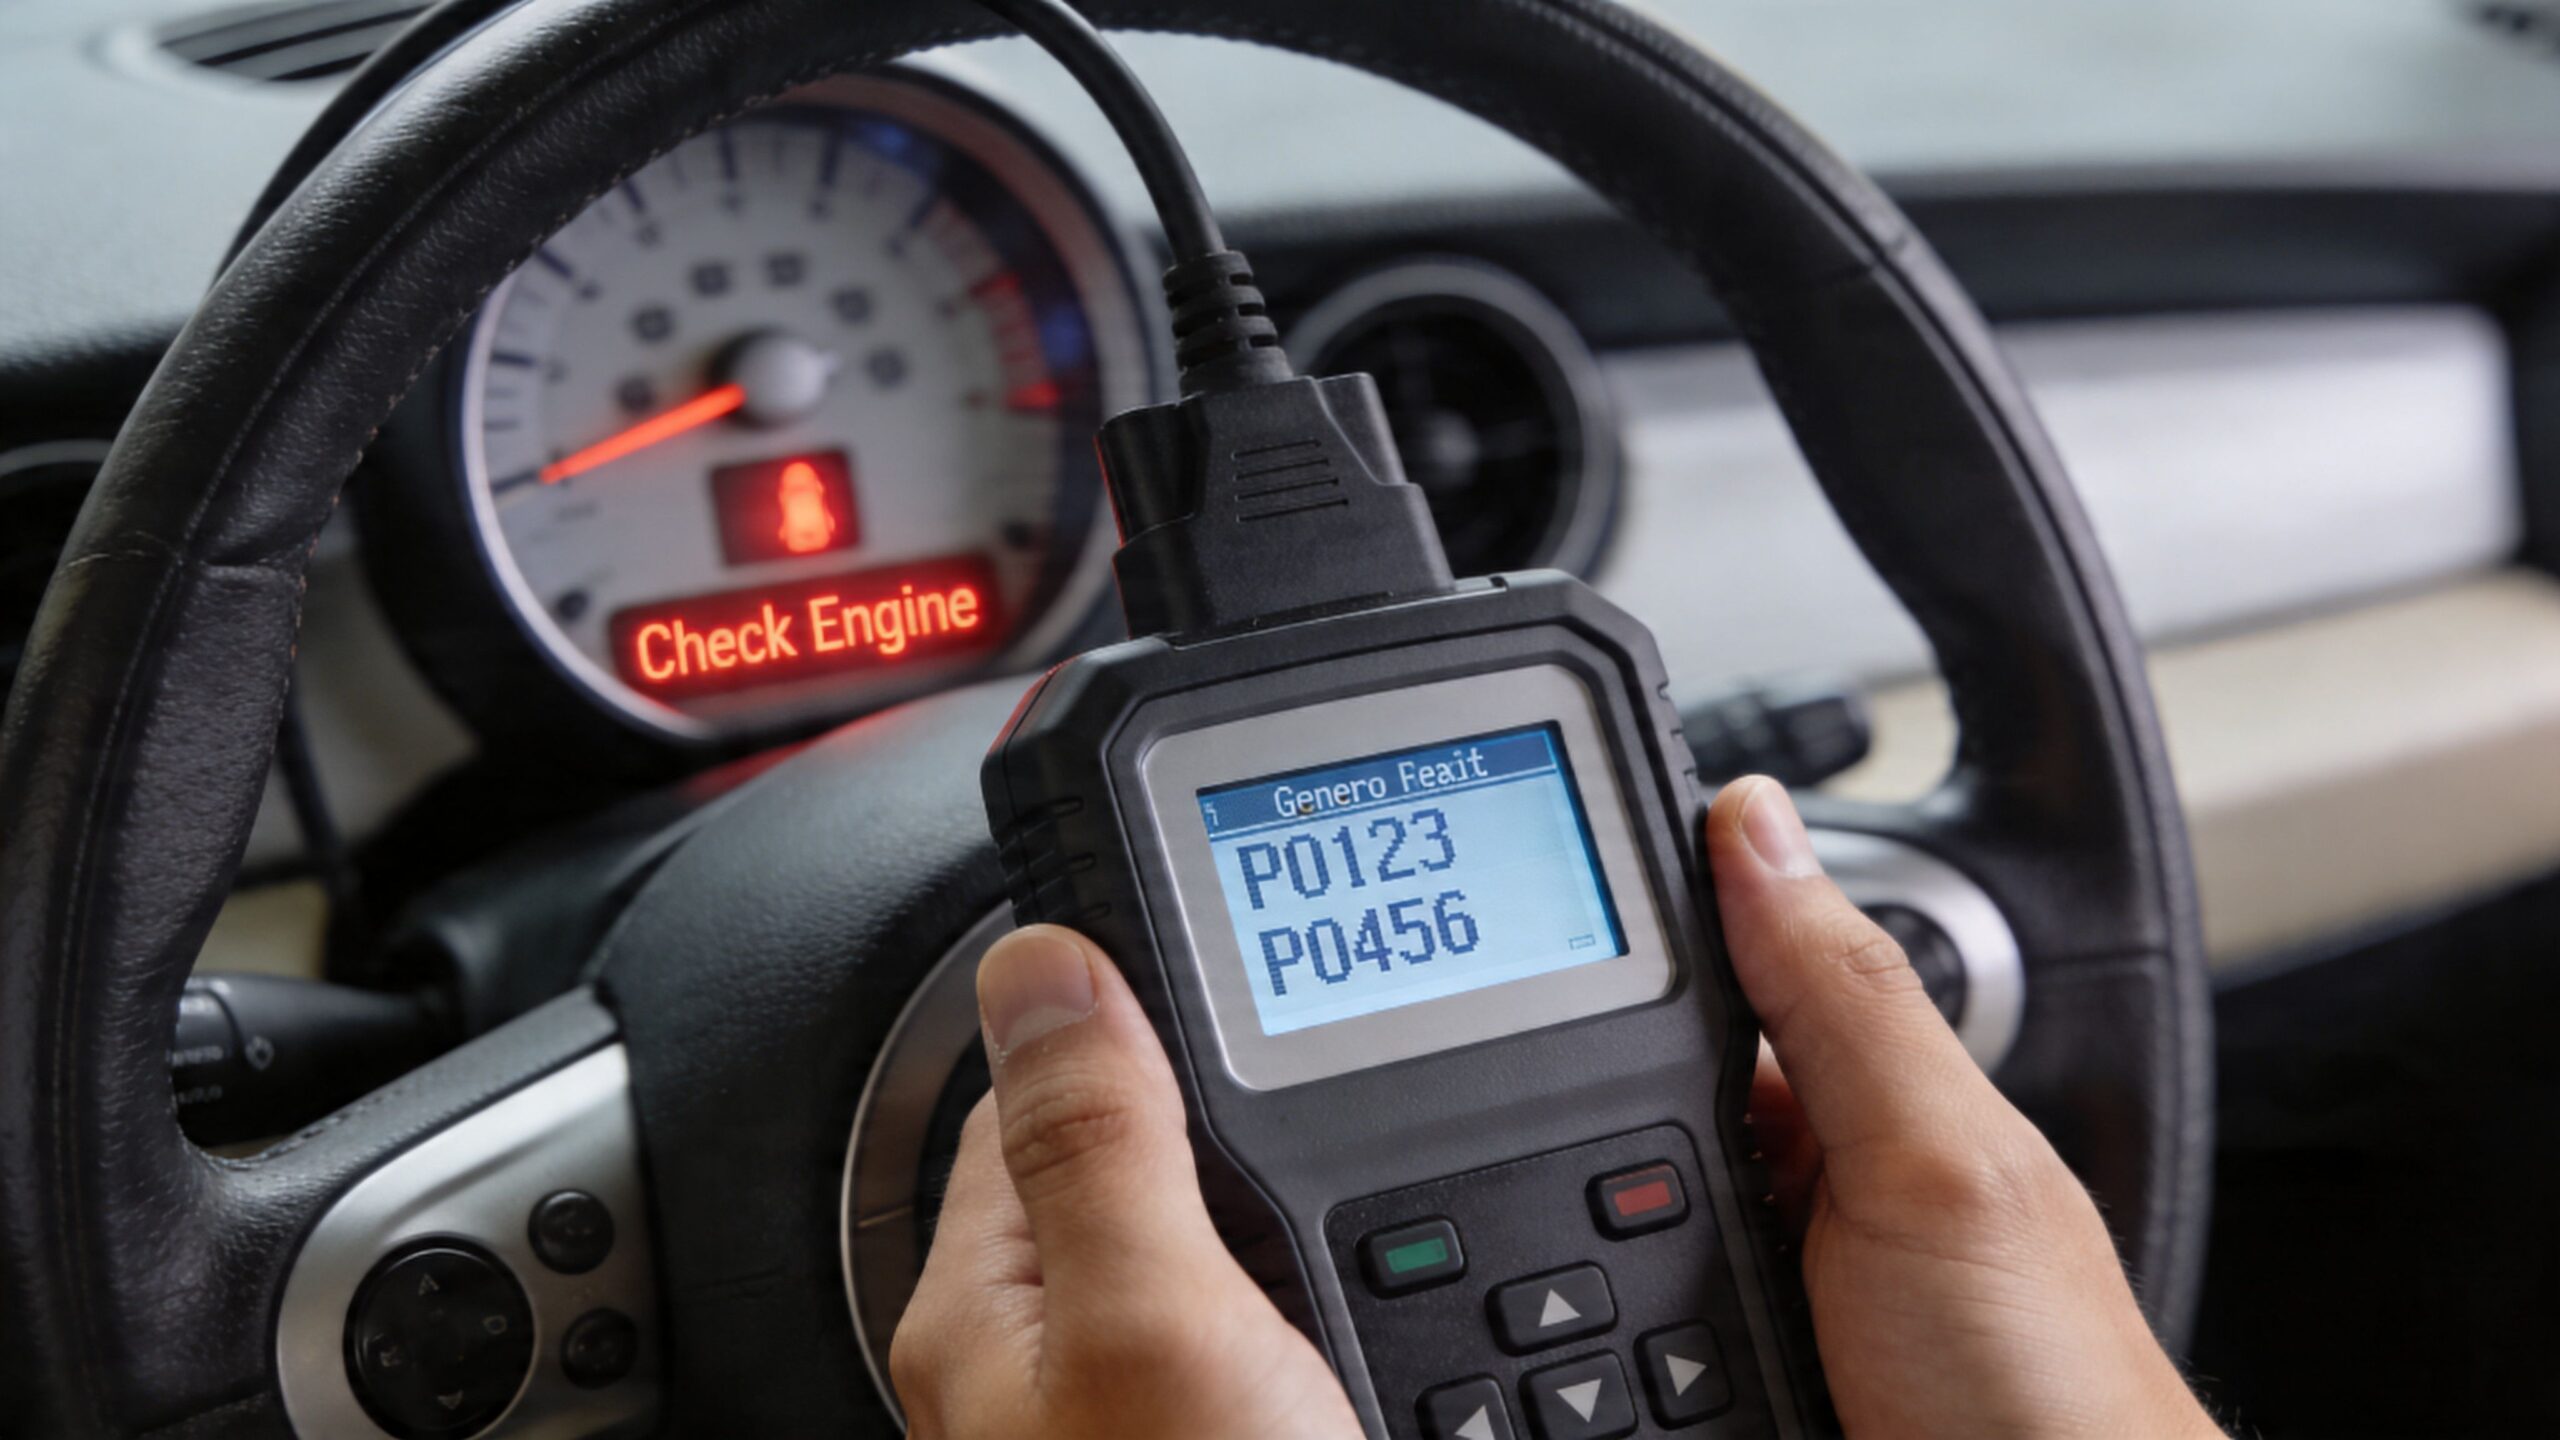
An OBD-II scanner is the starting point because it tells you which system the computer is watching and where the fault showed up. If you do not already own one, even a basic scanner paired with a quality socket and ratchet set makes more sense than guessing and buying the wrong sensor.
Start with the code, then confirm the location
Read all stored and pending codes before you touch anything. One code by itself can point to a sensor problem. A cluster of fuel trim, misfire, or catalyst codes can point to a larger issue.
The two terms that matter most are bank and sensor.
| Term | What it means |
|---|---|
| Bank 1 | The side of the engine with cylinder 1 |
| Bank 2 | The opposite side, if your engine has two banks |
| Sensor 1 | Upstream sensor, before the catalytic converter |
| Sensor 2 | Downstream sensor, after the catalytic converter |
That matters because the replacement decision changes with the sensor location. An upstream sensor affects fuel control and drivability more directly. A downstream sensor is usually there to watch converter performance.
A lot of vehicles have more than one O2 sensor. Some have four. If you replace "the oxygen sensor" without matching the code to the exact position, you can spend money and still keep the light.
Read the symptoms with some skepticism
A bad O2 sensor can show up as poor fuel economy, lazy throttle response, rough idle, or a failed emissions test. Those clues help, but they do not prove the sensor is the root cause.
I see this in the shop all the time. The scanner shows an oxygen sensor code, but the underlying problem is an exhaust leak ahead of the sensor, damaged wiring near the connector, or an engine running rich because of another fault. The sensor is just reporting what it sees.
Check these items before you commit to the part:
- Exhaust leaks near the sensor: Fresh air pulled into the exhaust can fool the sensor reading.
- Wiring and connector condition: Melted insulation, road damage, or a loose plug can trigger the same complaint.
- Oil or coolant contamination: If the engine is burning fluids, a new sensor may fail early.
- Vacuum leaks or fuel control problems: The sensor may be reporting a lean condition, not causing it.
Decide whether this is a home job or a shop job
This is the point where practical judgment matters more than confidence.
Replace it yourself if the code identifies one sensor clearly, access looks reasonable, the connector is intact, and the sensor does not appear welded in place by rust and heat. That is the kind of job many car owners can handle in the driveway with patience.
Slow down if the code comes back immediately, multiple related codes are present, or the harness is damaged. In those cases, testing saves money.
Call a pro if the sensor is buried against the firewall, the exhaust is heavily corroded, or the vehicle cannot be down for long. That is especially true for work trucks and fleet vehicles around Dallas. A seized sensor can turn a one-hour plan into a broken-thread repair fast.
If this started after an inspection failure, this failed emissions test guide helps connect the code to the larger emissions system before you buy parts.
The best money-saving move is still the same. Confirm the fault, confirm the sensor location, then decide whether the job looks straightforward enough to do at home.
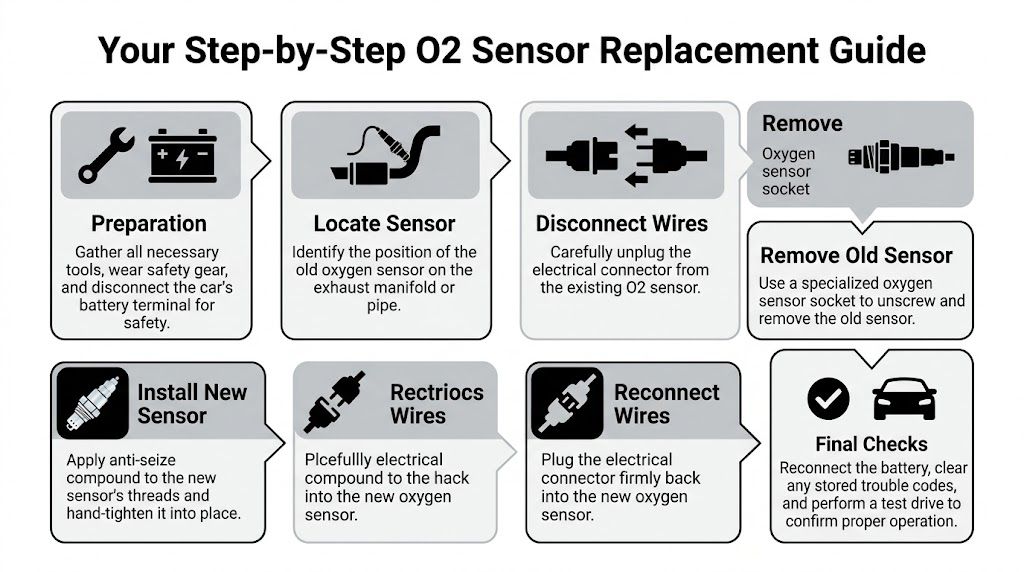
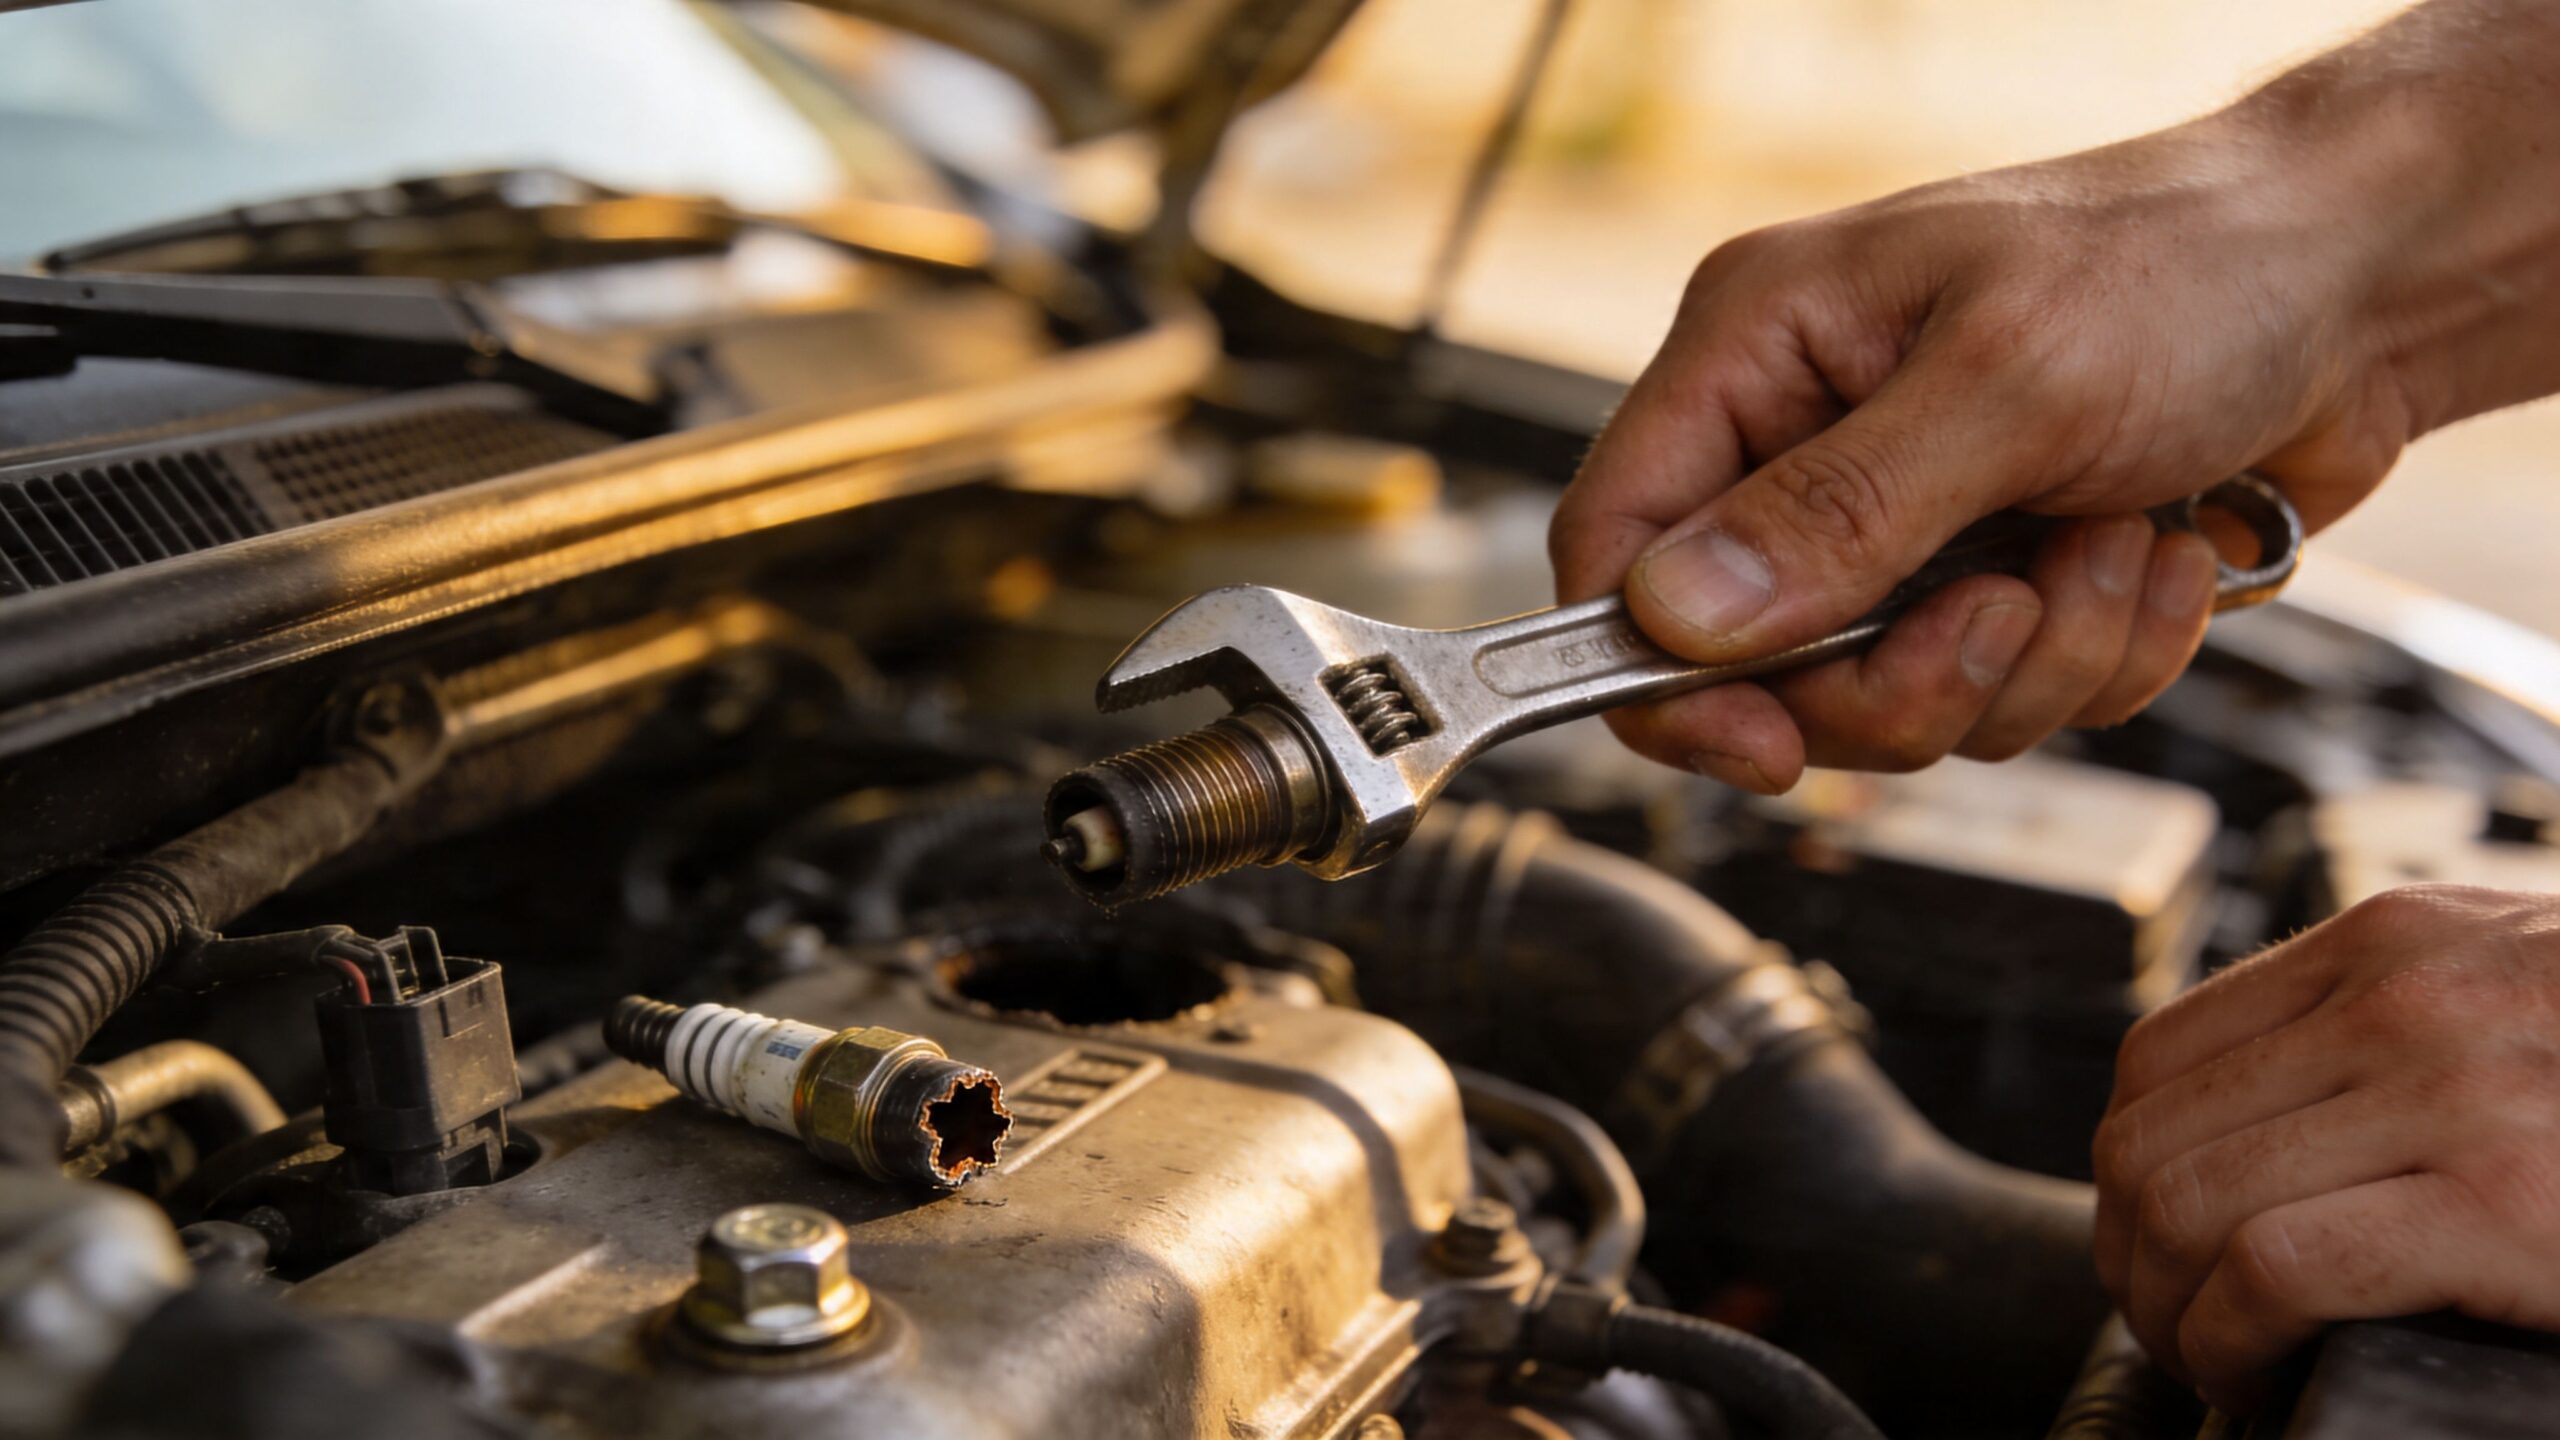
Your Step-by-Step O2 Sensor Replacement Guide
Saturday morning in Dallas, the check engine light is on, the parts store has your sensor in stock, and the job looks simple enough to knock out at home. Sometimes it is. Sometimes the sensor breaks loose in ten minutes. Sometimes it is seized in the exhaust, tucked against the firewall, and one rushed move turns a basic repair into a thread repair.
That is why the smart part of this job is not just turning the wrench. It is knowing whether the replacement looks like a clean driveway repair or the kind of job better handled on a lift.
Gather the right tools first
A regular wrench set can leave you stuck fast. The wire lead, the tight angle, and the heat-cycled threads call for the right socket and decent hand tools.
Set yourself up with:
- O2 sensor socket: A slotted 22mm socket fits many applications and clears the sensor wire.
- Ratchet and extensions: Use tools that fit tightly and do not flex under load. If your toolbox is light, a dependable quality socket and ratchet set makes this job easier.
- Penetrating oil: Helpful on older exhaust threads.
- Jack and jack stands: Only if you cannot reach the sensor safely from above.
- Gloves and eye protection: Rust and grit fall straight down when you work under an exhaust.
- OBD-II scanner: Useful for confirming the repair and clearing the code.
If you do not have safe lifting equipment, stop there and book the job out. No sensor is worth getting under a poorly supported vehicle.
Prep the car before turning a wrench
Start by matching the replacement sensor to the exact location you are servicing. Upstream and downstream sensors are not interchangeable on many vehicles, and bank location matters on V6 and V8 engines.
As noted in the O'Reilly replacement guide, good prep includes confirming the bad sensor with a scanner, letting the engine cool for at least two hours, disconnecting the negative battery terminal, applying penetrating oil before removal, hand-threading the new sensor first, and tightening it to the vehicle specification. That one source covers the full basic process, and it is a good reminder that the details matter.
Safe preparation checklist
- Park on level ground.
- Let the exhaust cool fully.
- Disconnect the negative battery cable.
- Raise and support the vehicle if needed.
- Confirm the exact sensor location before unplugging anything.
One wrong connector can waste half your afternoon.
Here’s a walkthrough video if you want a visual reference before starting:
Find the sensor and unplug it carefully
Upstream sensors are usually mounted near the exhaust manifold or just below it in the front pipe. Downstream sensors sit farther back, after the catalytic converter.
Follow the sensor body to the harness. Then release the connector before you try to loosen the sensor itself. Twisting the sensor with the connector still attached can damage the wiring, and then you have two problems instead of one.
Check the connector and harness while you are there:
- Cracked or brittle insulation
- Corrosion inside the connector
- Wiring routed against the exhaust
If the plug is melted, the wires are stiff and crumbling, or the harness clip has broken off and let the wire touch the pipe, this is a good point to hand the job to a shop.
Removing the old sensor without damaging the threads
Seat the slotted O2 socket fully on the hex. Get the ratchet lined up as straight as you can, then use steady pressure. Smooth force works better than quick jerks.
If the sensor resists, do not keep adding muscle without a plan. Reapply penetrating oil, give it more time, and try again with a better tool angle. On Texas vehicles that have seen years of heat cycles, a sensor can feel welded into the bung. If it starts rounding off, or you can feel the bung taking the strain, the DIY decision has changed. At that point, a shop with heat, better access, and repair options can save the exhaust threads.
That is especially true for Dallas fleet vehicles. If a van or work truck needs to be back on the road the same day, fighting a seized sensor in the driveway rarely saves money.
Installing the new sensor the right way
Once the old sensor is out, compare the new one to the old one before installation. Match the connector, wire length, and thread size.
Then slow down and install it carefully.
Installation sequence
- Thread the new sensor in by hand first
- Check whether thread compound is already applied
- Route the harness the same way as the original
- Plug the connector in until it locks
- Tighten the sensor to the correct spec for your vehicle
Do not guess on torque if the service information is available. Overtightening can damage the bung. Undertightening can leave a small exhaust leak that causes more headaches than the original code.
Final checks before the test drive
Reconnect the battery, clear the code, and start the engine. Listen around the sensor area for a ticking leak. Then watch the harness and make sure it is not resting on a hot pipe or hanging near anything moving.
DIY green-light checklist
| Check | What you want to see |
|---|---|
| Code cleared | No immediate return on startup |
| Idle quality | Stable, no hunting or stumble |
| Harness routing | Away from heat and moving parts |
| Sensor seating | No leak sound at the threads |
Take a short drive, then scan the car again. If the light comes back quickly, the connector will not lock, or the replacement sensor never threaded in smoothly by hand, do not keep forcing the issue. That is the point where a professional repair usually costs less than cleaning up a damaged exhaust bung or chasing the wrong fault.
Common Mistakes That Can Derail Your DIY Project
The internet makes this repair look cleaner than it usually is. On a newer car with clean threads, maybe it is. On an older daily driver that’s lived through heat cycles, moisture, and neglected past work, the hard part isn’t replacing the sensor. It’s removing it without damaging what it screws into.
Forum data summarized in this seized sensor discussion indicates that 20% to 30% of DIY O2 sensor replacements fail because the sensor is badly rusted or seized. On vehicles over ten years old or those exposed to road salt, this gets more common. Without anti-seize on the previous install, seizure rates can reach 40%, based on that same source.
Mistake one, assuming the sensor will come right out
This is the trap that starts everything else. You spray a little penetrant, put a wrench on it, and expect a clean break loose. Instead, the hex rounds, the sensor shell deforms, or the bung starts taking all the force.
When a sensor feels welded in place, the wrong move is adding more and more torque until something gives. Sometimes what gives is the exhaust fitting, not the sensor.
What actually works better
- Longer soak time: More than one application of penetrating oil can help.
- A proper O2 socket: Open-end tools slip too easily.
- Straight tool angle: Side-loading the sensor increases your chance of trouble.
- Controlled heat: If you don’t know where and how to apply heat safely, this is a good stopping point.
The sensor is replaceable. The bung, manifold threads, or pipe section around it may not be a quick fix once damaged.
Mistake two, cross-threading the new sensor
This one happens after a frustrating removal. You’re tired, under the car, and trying to finish. The new sensor starts crooked, the threads feel a little rough, and you tell yourself the wrench will sort it out.
It won’t.
Cross-threading turns a routine repair into thread repair or exhaust replacement. Always start by hand. If it doesn’t turn smoothly at the beginning, back it out and inspect the threads.
Mistake three, ignoring the connector and routing
A lot of people focus on the metal part and forget the harness. Then they route the wire too close to the exhaust or fail to snap the connector fully into place.
That creates fresh problems:
- Intermittent codes
- Melted wiring
- False readings
- Repeat check engine lights
Mistake four, buying the wrong style of part
Universal parts can create headaches because they may require wire splicing or connector transfer. On sensor circuits, bad connections cause ugly diagnostic confusion. The cleaner move is a direct-fit sensor with the correct connector and calibration for the vehicle.
That costs more upfront sometimes, but it reduces comeback problems.
Mistake five, pushing past the abort point
This is the one that separates a smart DIY job from a bad weekend. There’s no shame in stopping when the repair changes categories.
Stop and get help if you see any of these
| Red flag | Why it matters |
|---|---|
| Sensor hex is rounding | Tool grip is getting worse, not better |
| Sensor body twists but threads don’t release | You may tear the shell apart |
| Bung or pipe flexes heavily | Exhaust damage is now part of the risk |
| You smell burning or see nearby vulnerable parts | Heat use can create bigger problems |
| New sensor won’t hand-thread cleanly | Thread damage may already be present |
Some jobs need a lift, more room, heat, extraction tools, and thread-chasing equipment. That’s not a failure on your part. That’s just accurate decision-making.
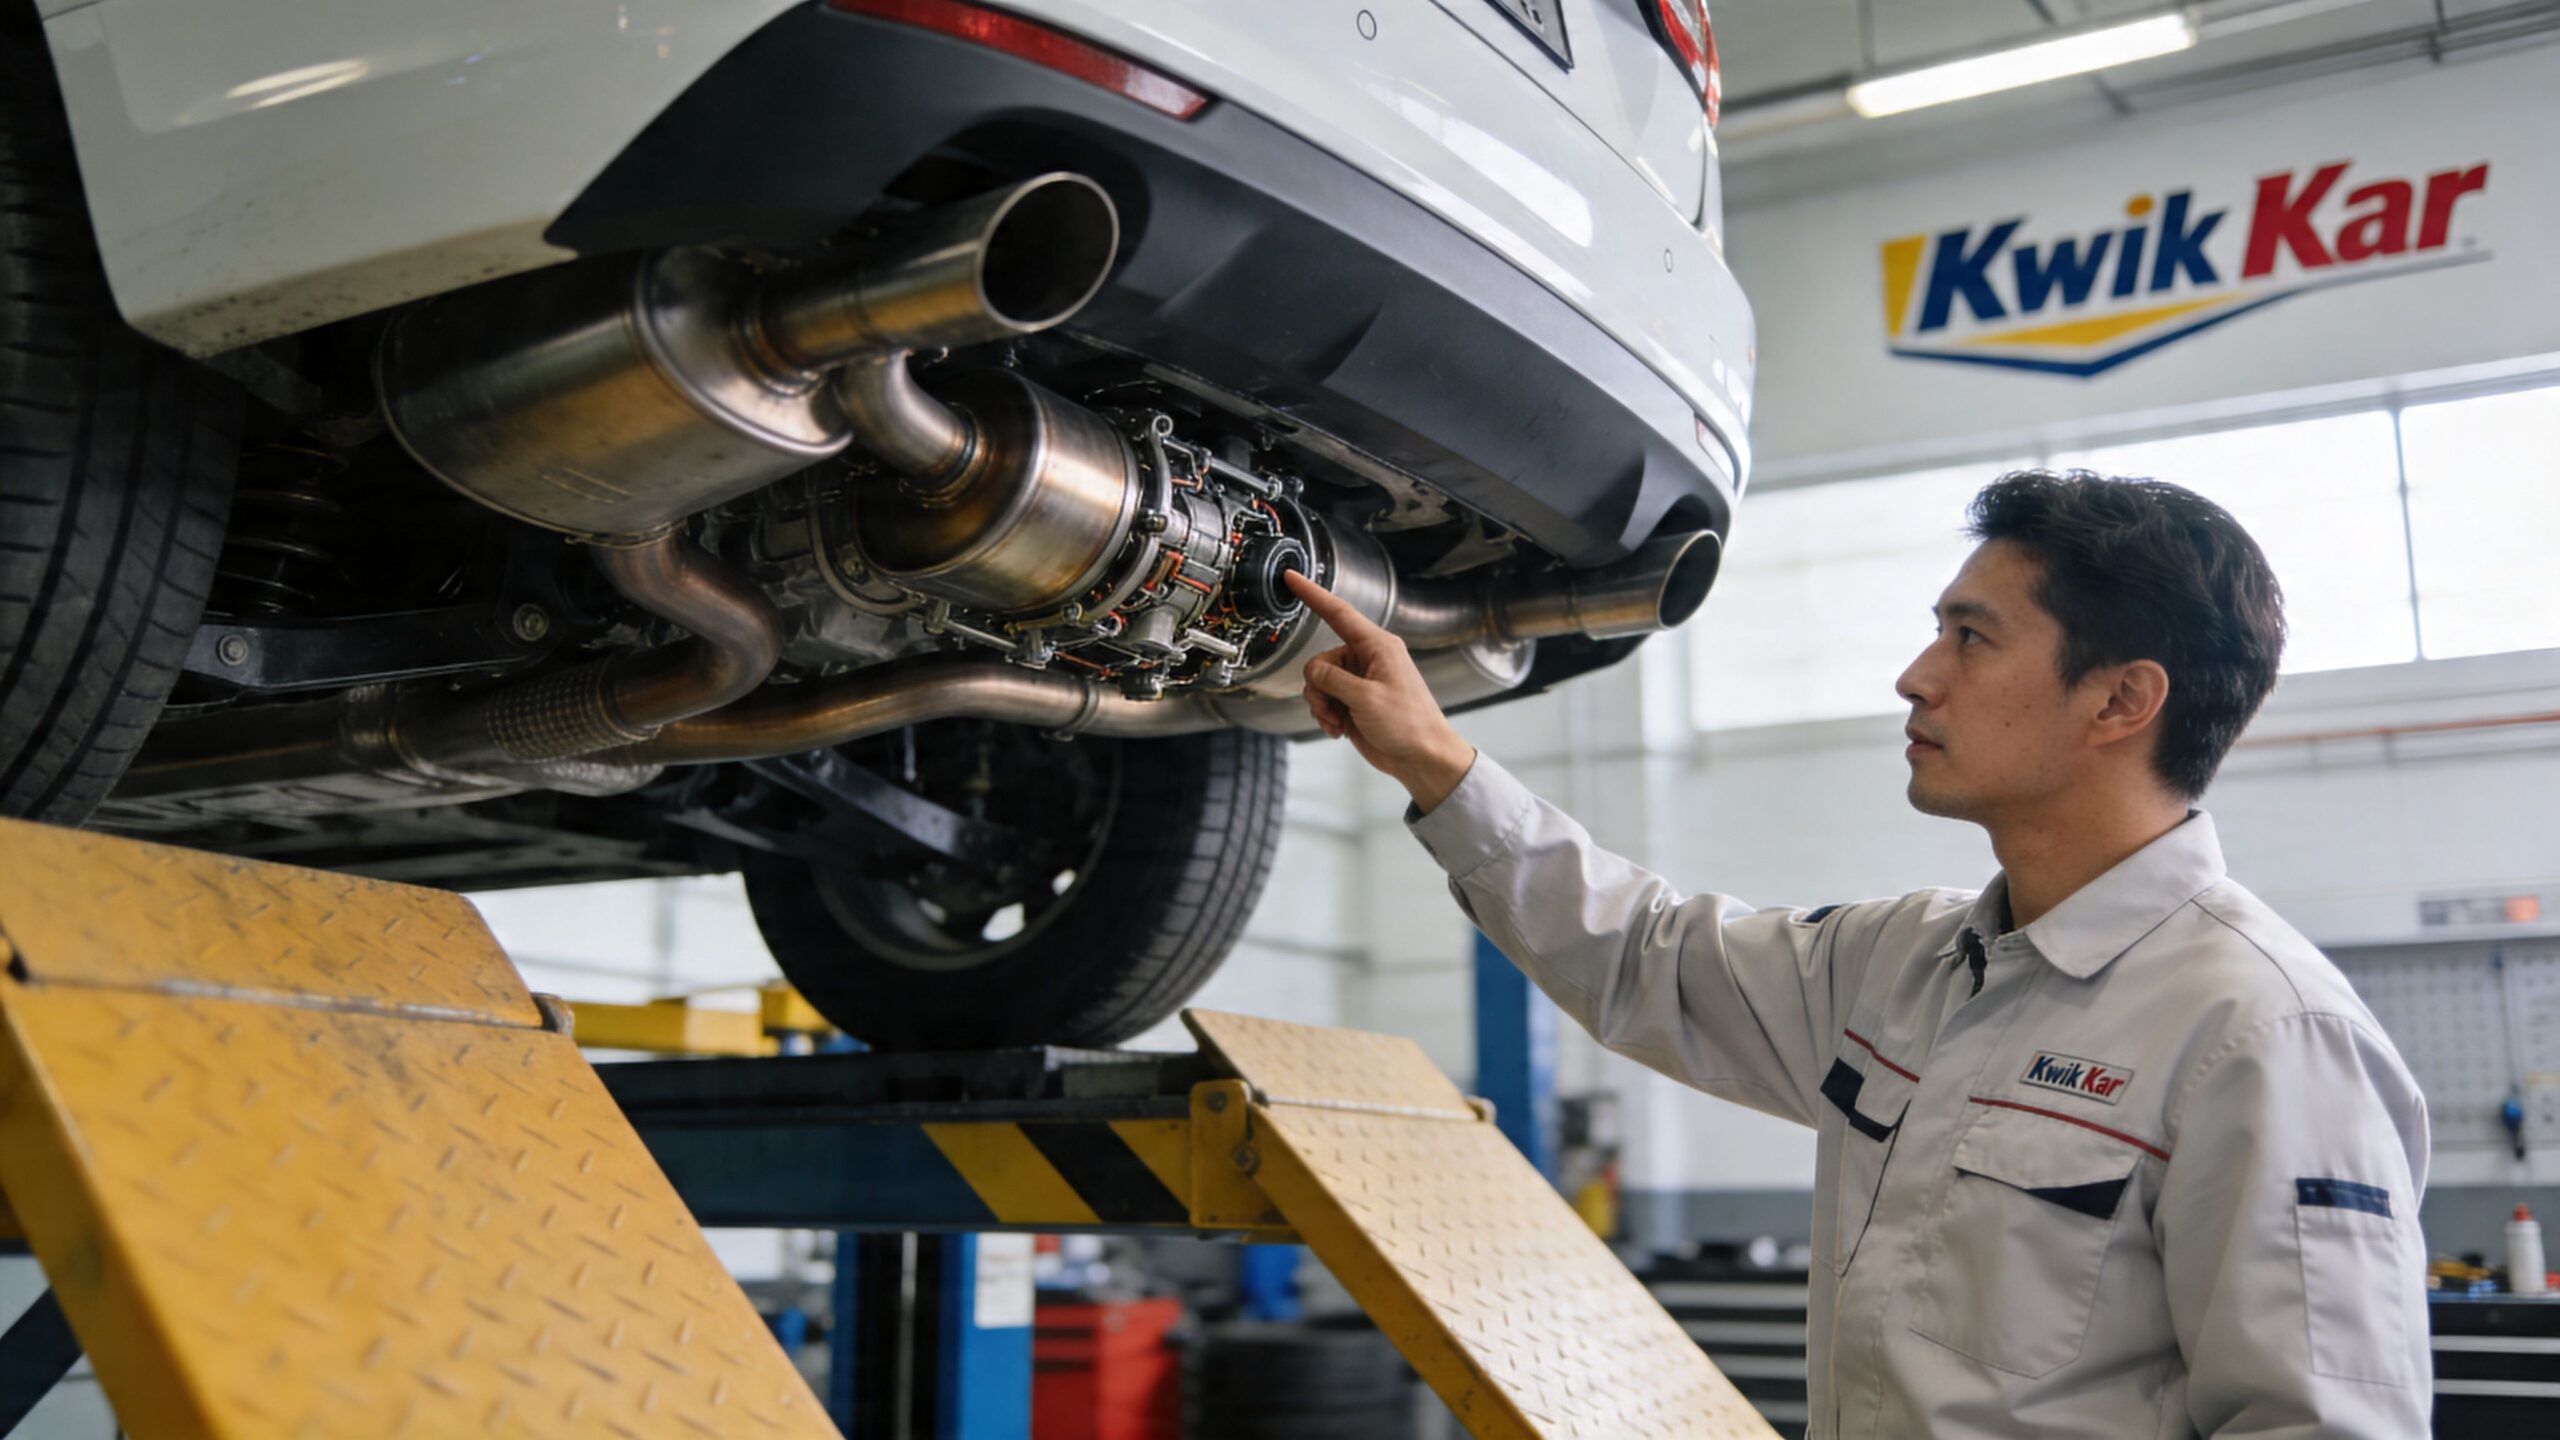
When to Trust the Professionals at Kwik Kar
Some repairs are worth doing yourself for the experience. Others look cheap until they eat a full day and create a second repair. Oxygen sensors can fall into either category.
For commercial fleets, the DIY decision is even less forgiving. This fleet-focused technical note points out that upstream sensors in high-mileage light trucks can fail twice as fast as in passenger cars, with a 25% failure rate by 80,000 miles, and that professional rapid diagnostics can cut downtime by 50% while helping avoid warranty issues.
The best reasons to hand it off
A professional repair makes the most sense when the problem is bigger than one threaded part.
Call a shop when
- The sensor is seized hard: You need extraction tools, controlled heat, and room to work.
- You don’t have a scanner: Replacing a sensor without confirming the fault is guesswork.
- The vehicle has multiple codes: That often means diagnosis matters more than part swapping.
- You need the car today: A stalled DIY job ties up the vehicle and your schedule.
- It’s a fleet vehicle: Downtime costs more than the repair.
Why estimates can change on this job
People get frustrated when a sensor replacement quote changes after work starts. Sometimes that frustration is fair. Sometimes the hidden problem only shows up when the tech gets the car in the air and tries to remove the sensor.
That’s not unique to O2 sensor work. This breakdown of why repair estimates can change explains the broader idea well. Once a part comes apart, the shop may discover seized threads, damaged connectors, or surrounding exhaust issues that weren’t visible at check-in.
A good shop should explain the change clearly. “We found damage after removal” is valid only when they can show you what changed.
Dallas-specific practical call
For Dallas drivers, the decision often comes down to inspection timing, commute pressure, and whether the car can sit if the job goes sideways. If the light is on and registration or emissions compliance is in the picture, faster diagnosis matters more than the satisfaction of doing it yourself.
If your warning light has moved from “I should look into that” to “I need this fixed correctly,” start with a proper check engine light repair service. That’s especially true when the code keeps returning or the sensor location isn’t obvious.
A simple DIY versus pro comparison
| Situation | Better choice |
|---|---|
| Easy access, clean hardware, confirmed single sensor fault | DIY can make sense |
| Heavy rust, poor access, rounded hex, uncertain diagnosis | Professional service |
| Single personal vehicle and flexible time | Depends on tools and patience |
| Fleet truck, inspection deadline, uptime matters | Professional service |
Skill isn’t doing every repair yourself. It’s knowing which ones are worth owning and which ones are worth outsourcing.
Post-Replacement Checks and Enjoying the Rewards
Once the new sensor is in, don’t just shut the hood and assume you’re done. The last part of the job is proving the repair worked.
Start by clearing the code with your scanner. Then restart the engine and watch what happens. If the light returns immediately, you likely still have an active problem. That could be the wrong sensor, damaged wiring, an exhaust leak, or a non-sensor issue that triggered a sensor code.
What success looks like
A good repair usually shows itself in simple ways. The idle settles down. Throttle response feels more normal. The engine stops acting like it’s second-guessing its own fuel mixture.
Use this checklist after the install:
- No immediate warning light: A clean startup is your first sign.
- No exhaust tick near the sensor: That helps confirm proper sealing.
- No hot-wire contact: The harness should stay clear of exhaust heat.
- No pending code on rescan: The scanner matters more than wishful thinking.
If the code stays gone after a drive and the car feels smoother, you’re probably on the right track. If the same code returns quickly, stop replacing parts and return to diagnosis.
Give the computer time to adapt
The engine computer may need a little driving time to settle into the new sensor data. That doesn’t mean the repair failed if everything feels normal right away but the monitors haven’t fully run yet.
What you’re looking for is a trend:
- smoother idle
- better drivability
- no repeat code
- improved fuel use over the next few fill-ups
You don’t need to chase instant perfection on the first startup. You do need to pay attention.
What if it still doesn’t feel right
If the light stays off but the car still runs poorly, think bigger than the sensor. The old code may have led you to one issue while another remains. Vacuum leaks, ignition problems, exhaust leaks, contamination, or catalyst problems can overlap with oxygen-sensor symptoms.
A short recheck is often smarter than driving for weeks hoping it sorts itself out.
The real payoff
When the repair is correct, you get more than a dark dashboard. You get your normal car back. It starts, idles, responds, and uses fuel the way it should. That’s why this job matters.
Changing an oxygen sensor is a good DIY repair when the diagnosis is solid and the hardware cooperates. When those two things aren’t true, the smartest move is protecting the car from a bigger problem.
If your check engine light is on, your vehicle failed inspection, or an O2 sensor job looks more seized than simple, Kwik Kar Oil Change and Auto Care can help with diagnostics, repairs, routine maintenance, and fleet service across Dallas. You’ll get clear communication, practical recommendations, and a faster path back to a car that runs right.