
You head out on a Dallas morning, merge onto Central or I-35, and that tire light shows up right when traffic starts bunching up. Or maybe there’s no light at all, but the car feels a little off and you can’t remember the last time you checked the tires with a gauge.
That’s usually how this starts. Not with a flat. Just a small pressure change that turns into poorer handling, faster wear, and wasted fuel if you ignore it. The good news is that learning to check tire pressure correctly is simple, and once you know what you’re looking for, it takes only a few minutes.
Why Checking Your Tire Pressure Matters in Dallas
In Dallas, tire pressure problems show up in everyday driving, not just on road trips. A car can feel fine leaving the driveway in a 70 degree morning, then feel looser and less settled after sitting on hot pavement through a 100 degree afternoon. Add fast freeway driving on Central, LBJ, or I-35E, plus rough expansion joints and patched lanes, and a small pressure mistake starts to matter.
Low pressure changes how the tire carries the vehicle. The contact patch gets distorted, the sidewall flexes more, and the tire builds extra heat. You notice that as softer steering response, longer stopping feel, and more squirm over concrete grooves or standing water during one of those sudden North Texas downpours.
Dallas drivers also deal with two practical issues that make pressure checks more important. Summer heat stresses already underinflated tires, and state inspections can bring worn tires or a TPMS warning to your attention at the worst time. A five-minute check in your driveway is easier than finding out during your inspection appointment that one tire has been running low for weeks.
There’s a cost side to it too. Proper inflation helps fuel economy and slows irregular tread wear. It also cuts down on the shoulder wear and feathering we see all the time on commuter cars that spend hours every week on DNT, 635, and I-30. If your tread is already wearing unevenly, take a look at common causes of uneven tire wear.
One more thing I see in the shop. Plenty of drivers wait for the warning light, but pressure usually drops a little at a time. By then, the tire may not look obviously low, yet it has already been wearing faster and working harder than it should.
Finding Your Target PSI and Getting the Right Tool
Before you check anything, get two things right. First, use a gauge you trust. Second, know the recommended PSI for your vehicle, not the number molded onto the tire sidewall.
Where to find the correct PSI
The right number is usually on the driver-side door jamb sticker. If it’s not there, check the owner’s manual. That sticker gives the manufacturer’s recommended cold tire pressure, and it may list different values for the front and rear.
Don’t use the pressure on the tire sidewall as your fill target. That sidewall number is not the everyday setting for your vehicle. It refers to the tire itself, not how your specific car, SUV, or light truck should be inflated in normal service.
That difference matters on heavier vehicles and on models that carry different weight over the front and rear axles. If you fill every tire to the same number without checking the placard, you can create ride and wear issues that look like bigger mechanical problems.
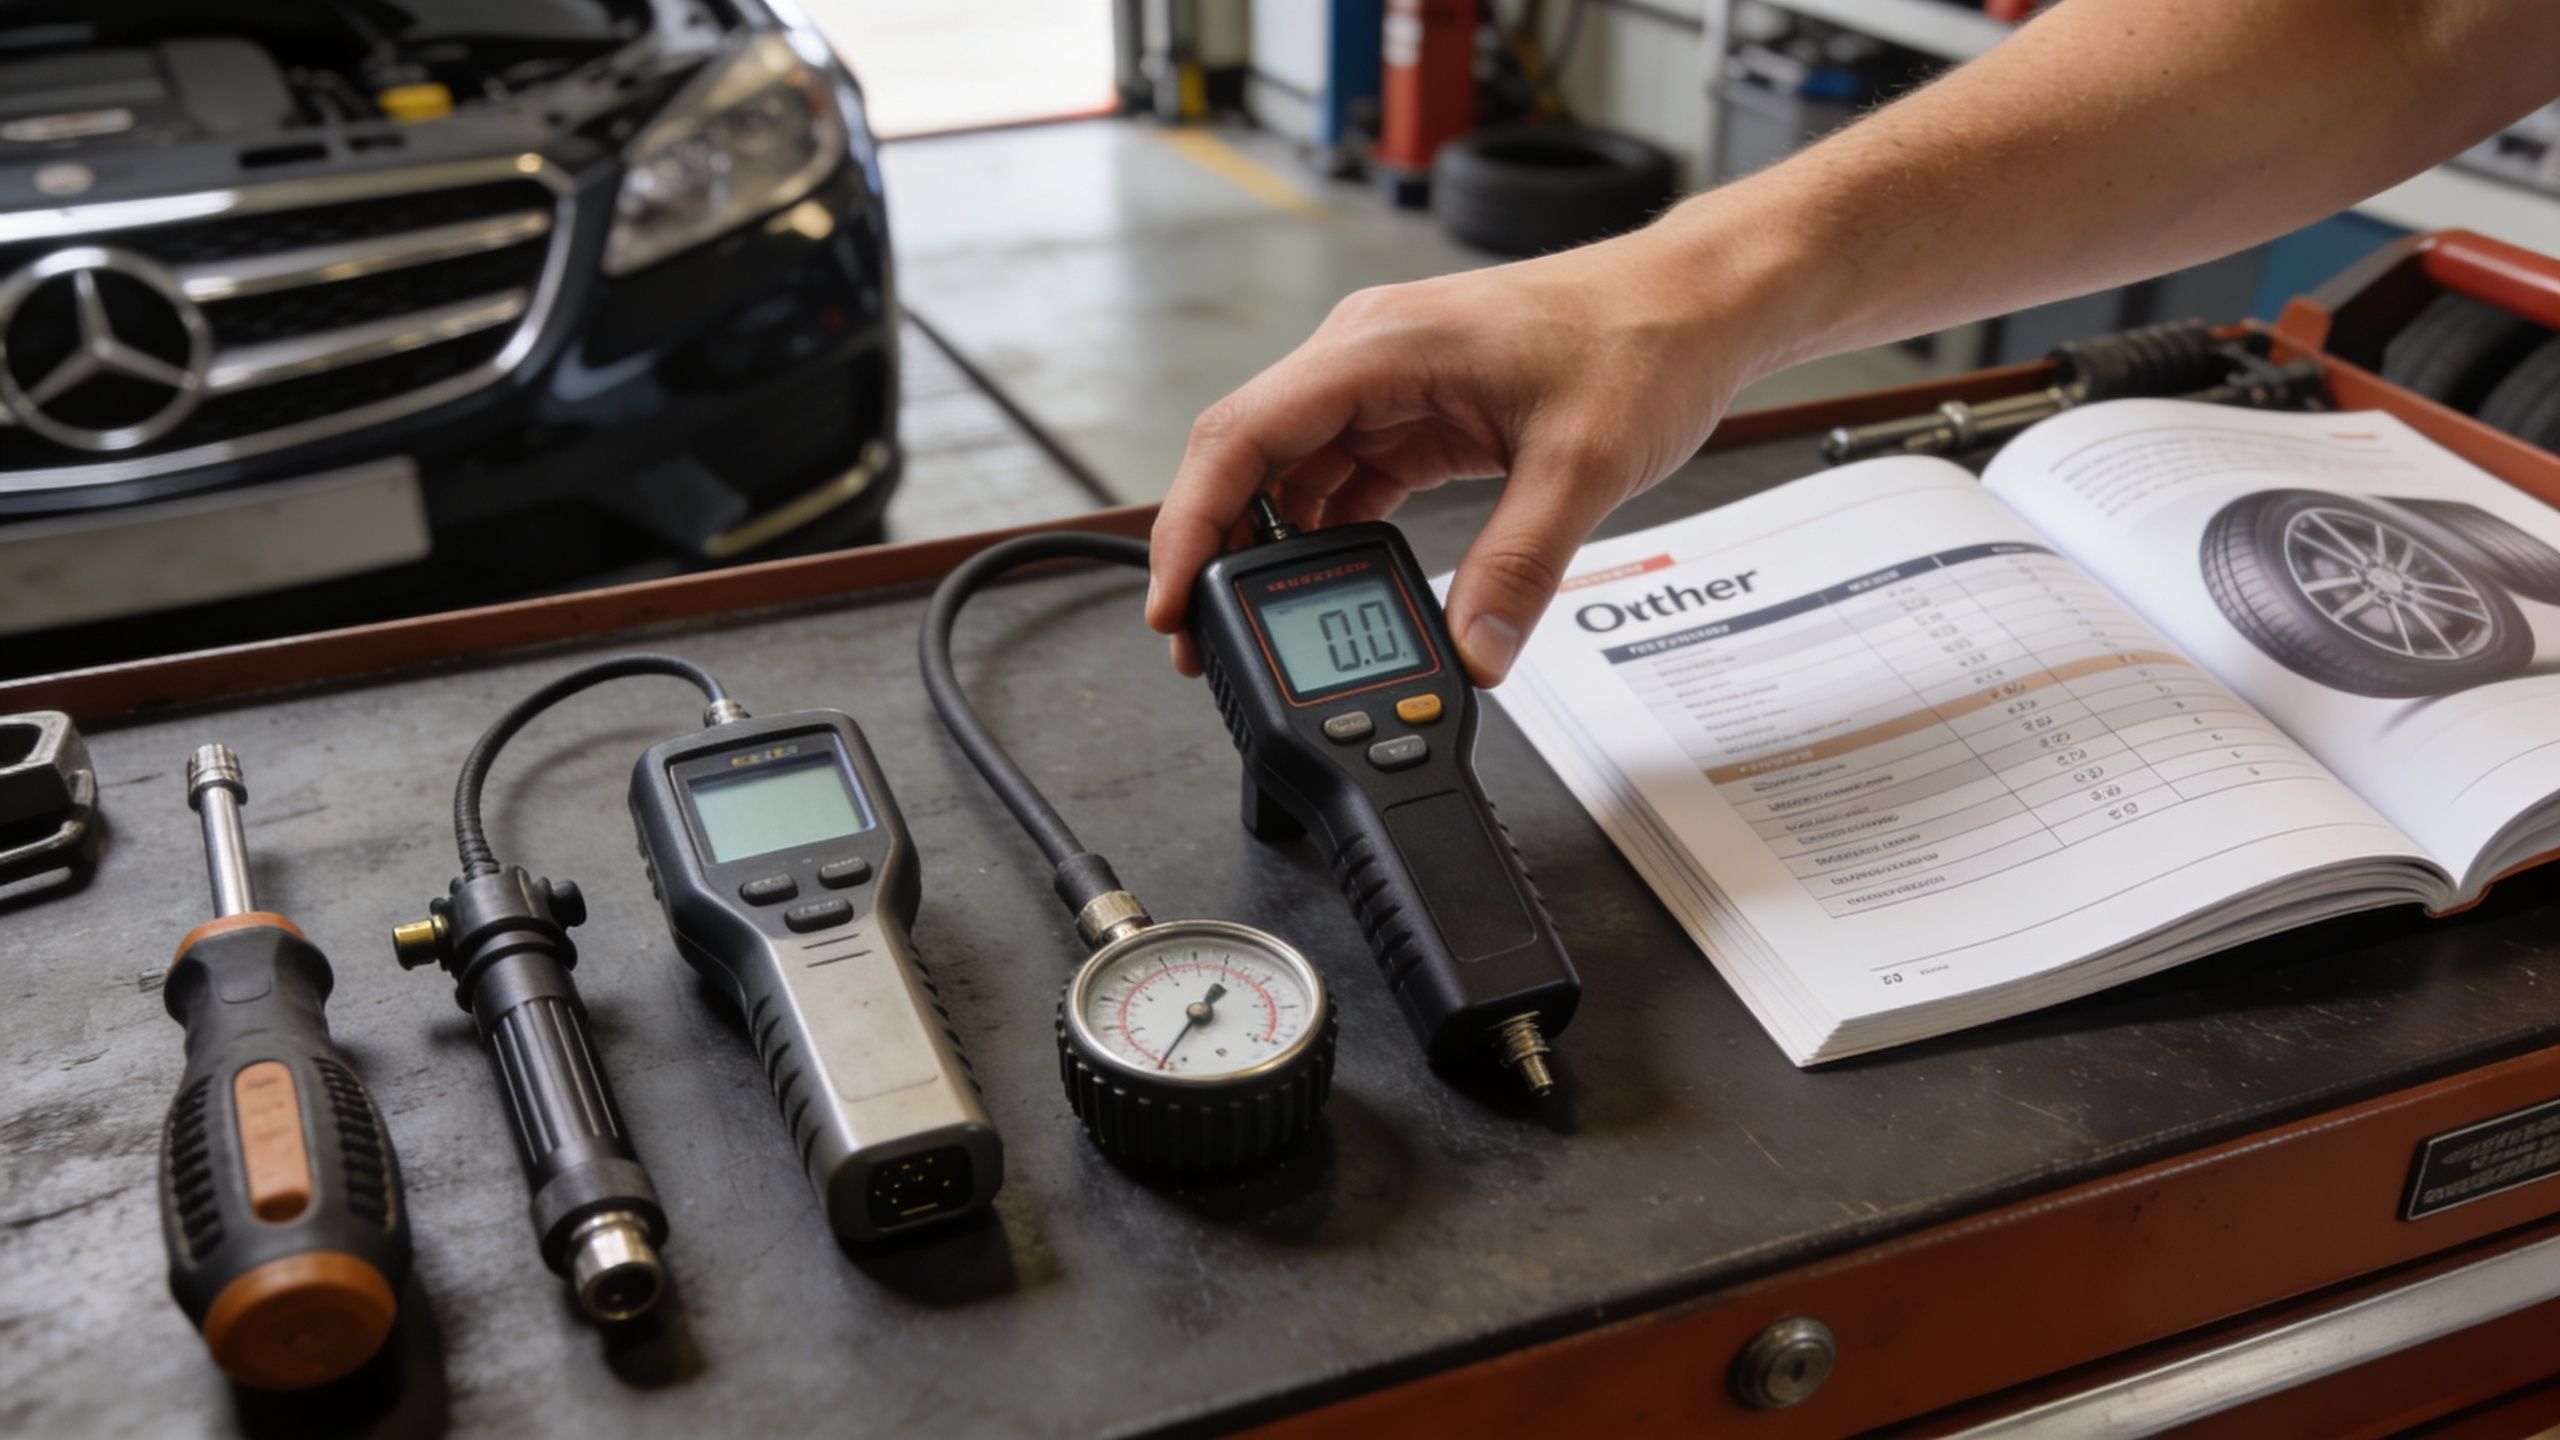
What gauge works best
You’ve got three common options:
- Pencil gauge: Cheap, compact, and easy to keep in a glove box. It works, but the reading can be harder to read quickly.
- Dial gauge: Easy to read and usually more comfortable to use than a pencil gauge.
- Digital gauge: The easiest for most drivers. The display is clear, and it’s usually the best choice for repeatable readings.
For home use, a digital gauge is usually the least frustrating option. Keep one in the console or cargo area and you’re much more likely to use it.
A good gauge matters more than fancy technique. If the tool is hard to read or inconsistent, people stop checking.
If you’re also weighing air fill options, this overview of where to get nitrogen to fill tires can help you decide what fits your driving habits. For most drivers, the bigger issue isn’t the type of gas in the tire. It’s checking pressure consistently.
A simple prep checklist
Before you start, make sure you have:
- The door-jamb PSI spec: Check front and rear values separately.
- A pressure gauge: Digital is easiest.
- Access to air: A home inflator or a gas station compressor works.
- Valve cap awareness: Don’t set caps down where they can roll away.
If you already know your target PSI and have a decent gauge, the actual pressure check is the easy part.
The Correct Way to Measure Your Tire Pressure
Start with the tires cold. For the most accurate reading, they should be undriven for at least 3 hours or driven less than 5 miles at low speed, and heat from driving can raise readings by 1 PSI for every 10°F rise in tire temperature, according to Pirelli’s tire pressure checking guidance.
That one detail causes a lot of bad readings. If you check after a long Dallas drive and adjust the tire based on that hot reading, you can end up setting the pressure wrong.
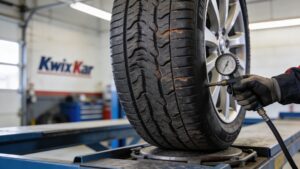
Here’s a visual walkthrough of the process:
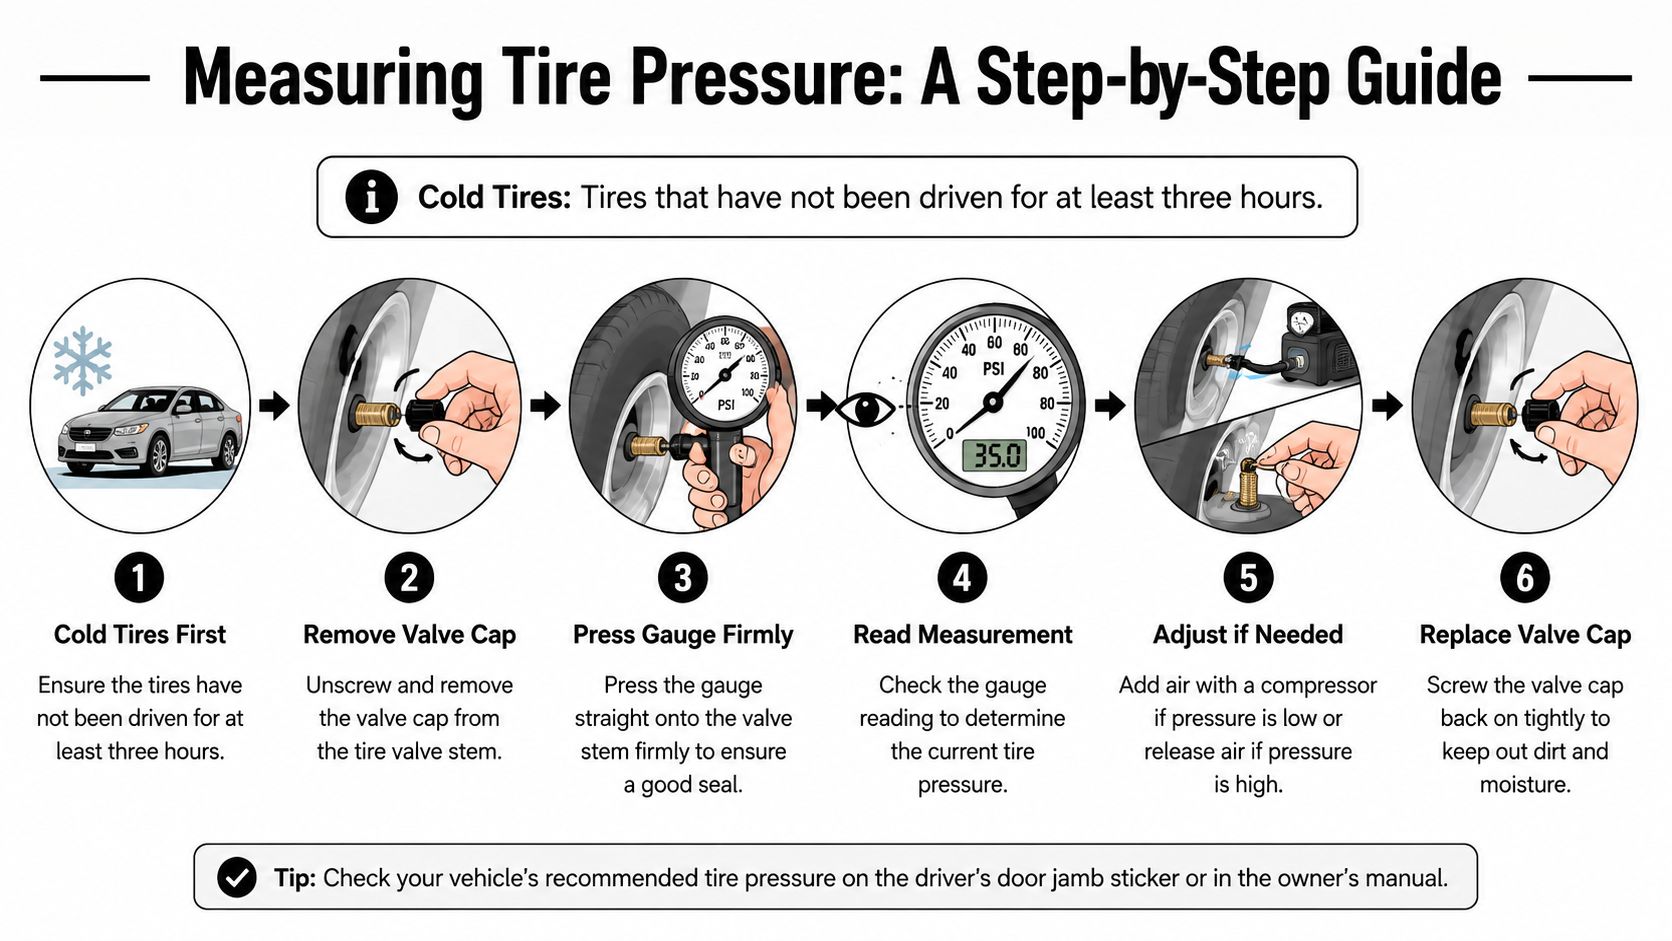
Getting a clean reading
Park on level ground. Turn the vehicle off. Go to one tire and remove the valve cap. Put the cap somewhere you won’t lose it.
Press the gauge firmly onto the valve stem. The key word is firmly. If you hear a long hiss, the seal isn’t clean and the reading may be off. Pull it away, line it up straighter, and try again.
Read the number immediately. Compare it to the front or rear PSI on the door sticker, depending on which tire you’re checking.
If the gauge slips or hisses a lot, don’t guess. Reseat it and take another reading.
A quick video can help if you want to see the hand position and timing:
Adding air without overshooting
If the tire is low, connect an air hose and add air in short bursts. Then stop and recheck with your gauge. Built-in gas station gauges can be convenient, but your own gauge is usually easier to trust consistently.
If the tire is slightly over the target, press the small metal pin inside the valve stem very briefly to release air. Then measure again. Don’t hold it down too long. It’s easy to overshoot and have to refill.
A careful rhythm works best:
- Check once: Get your baseline reading.
- Adjust in small increments: Add or release a little at a time.
- Recheck before moving on: Don’t assume you landed on the target.
- Replace the valve cap: It helps protect the valve from dirt and moisture.
Don’t forget all four tires
Repeat the process for each tire. If your vehicle has a full-size spare, check that too when you have time. A spare that’s been ignored for months isn’t much help when you need it.
At the shop level, this is also where technicians notice early signs of trouble. A cracked valve cap, a stem that looks weathered, or one tire that’s consistently lower than the others can point to a leak before it becomes a roadside problem.
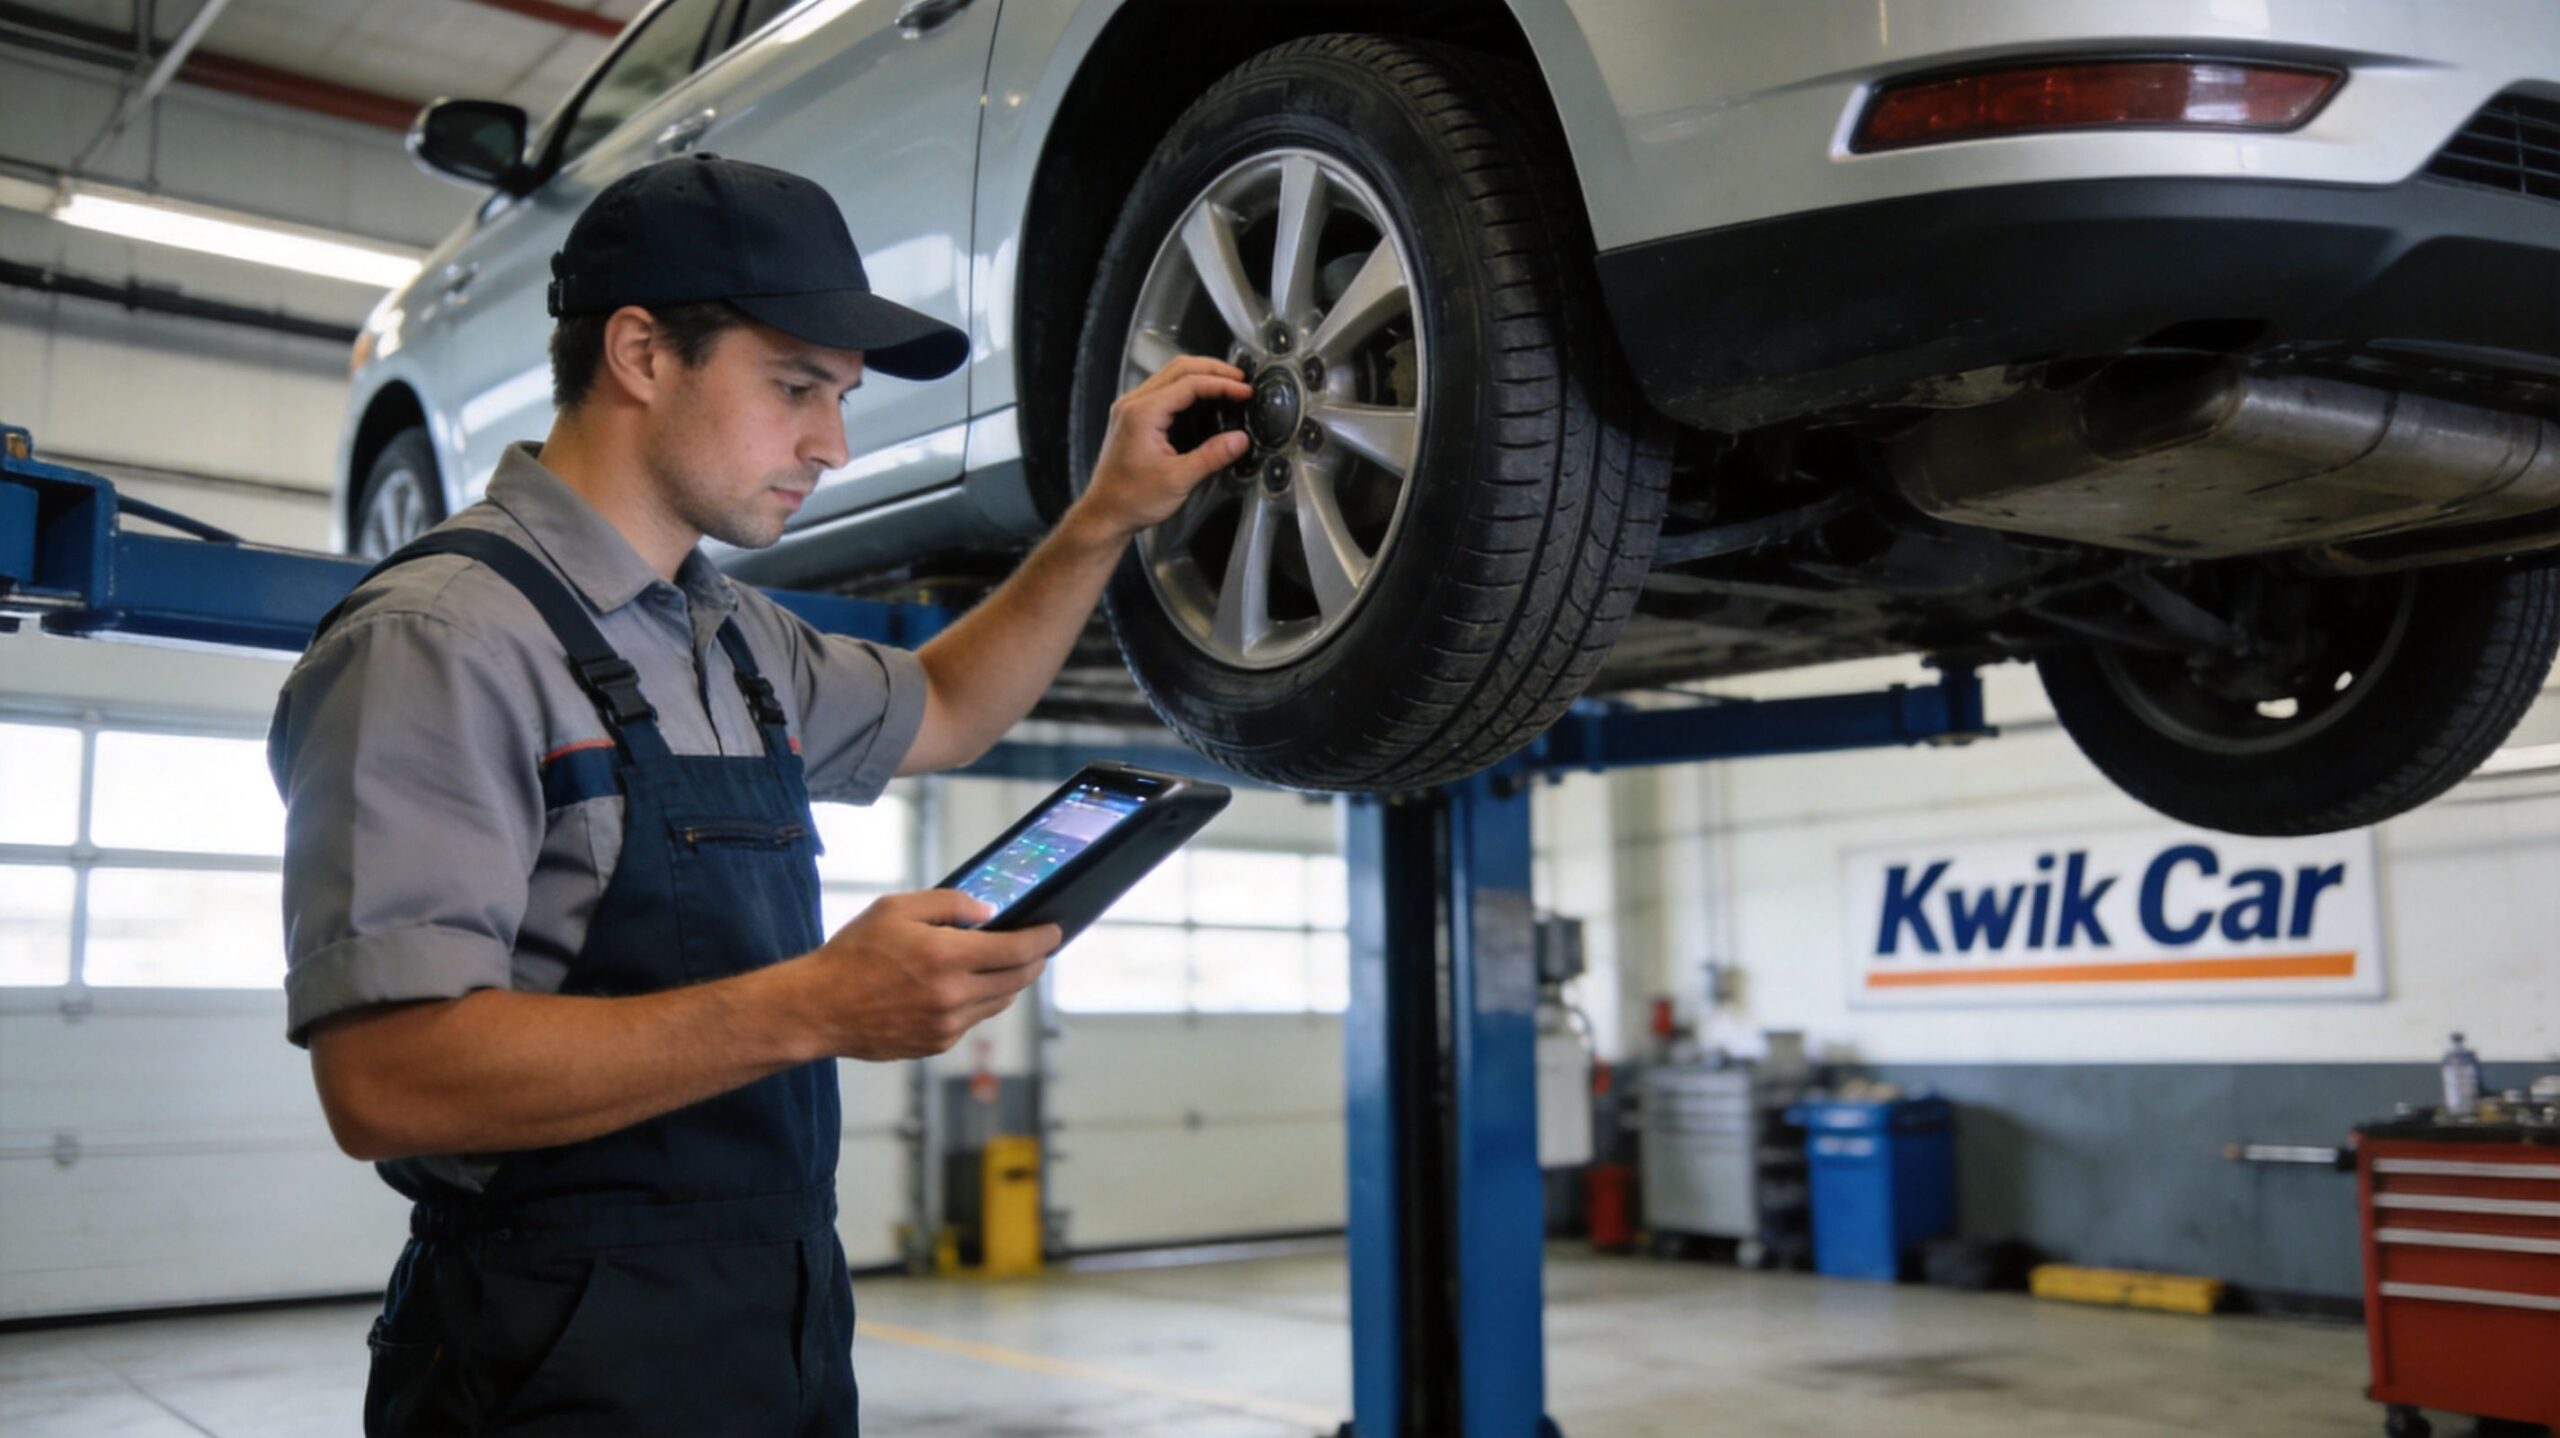
One practical note for local drivers: if you don’t have a gauge or inflator, Kwik Kar Oil Change and Auto Care can handle tire pressure checks as part of routine maintenance, which is often easier than waiting until a warning light appears.
Interpreting the Numbers Like a Pro
A pressure reading only helps if you know what it means. The first thing to understand in Dallas is that temperature can move the number around even when the tire itself is fine.
For every 10°F change in ambient temperature, tire pressure shifts by about 1 PSI, as explained in this cold-weather tire pressure guide. That’s why a tire can look fine during a warm afternoon and then show low on a colder morning.
What a normal pattern looks like
You don’t need every tire to show a perfectly identical number down to the decimal. Small differences can happen because of gauge position, timing, and normal variation. What matters is whether the readings are close to the vehicle spec and whether one tire keeps falling behind the others.
Use this quick interpretation table:
| Reading pattern | What it usually means | What to do |
|---|---|---|
| All four are slightly low | Seasonal temperature change or delayed maintenance | Set all four to the placard PSI |
| One tire is noticeably lower than the rest | Possible slow leak, valve issue, or puncture | Refill and monitor it closely |
| Front and rear specs are different on the sticker | Normal for many vehicles | Follow the sticker, not a one-size-fits-all number |
| One side of the vehicle feels off even with corrected PSI | Pressure may not be the only problem | Have alignment or tire condition checked |
When differences matter
What gets my attention isn’t a tiny variation. It’s a pattern. If one tire keeps losing pressure while the others stay stable, that points to a puncture, bead leak, or valve stem issue. If both front tires are off in the same direction, I start thinking about wear and driving habits too.
This also matters for trucks, SUVs, and loaded work vehicles. The recommended pressures may differ front to rear because the axle loads differ. If the vehicle regularly carries tools, cargo, or equipment, pressure should match how the vehicle is being used.
A reading is a snapshot. The trend matters more. One low reading can happen. The same tire being low again is a clue.
Read the car and the numbers together
If the PSI is technically close but the vehicle still feels vague, wanders, or rides harshly, don’t stop at the gauge. Pressure is only one part of tire behavior. Tread wear, balance, and alignment all affect what the driver feels through the steering wheel and seat.
That’s why a pressure check works best as part of a broader habit. Watch the tire numbers, but also pay attention to the way the vehicle drives.
Decoding Your Car's TPMS Warning Light
A Dallas driver usually sees the TPMS light at the least convenient time. The light pops on during the morning commute, the tire looks fine in the parking lot, and now you have to decide whether it is safe to keep driving or time to stop and check it.
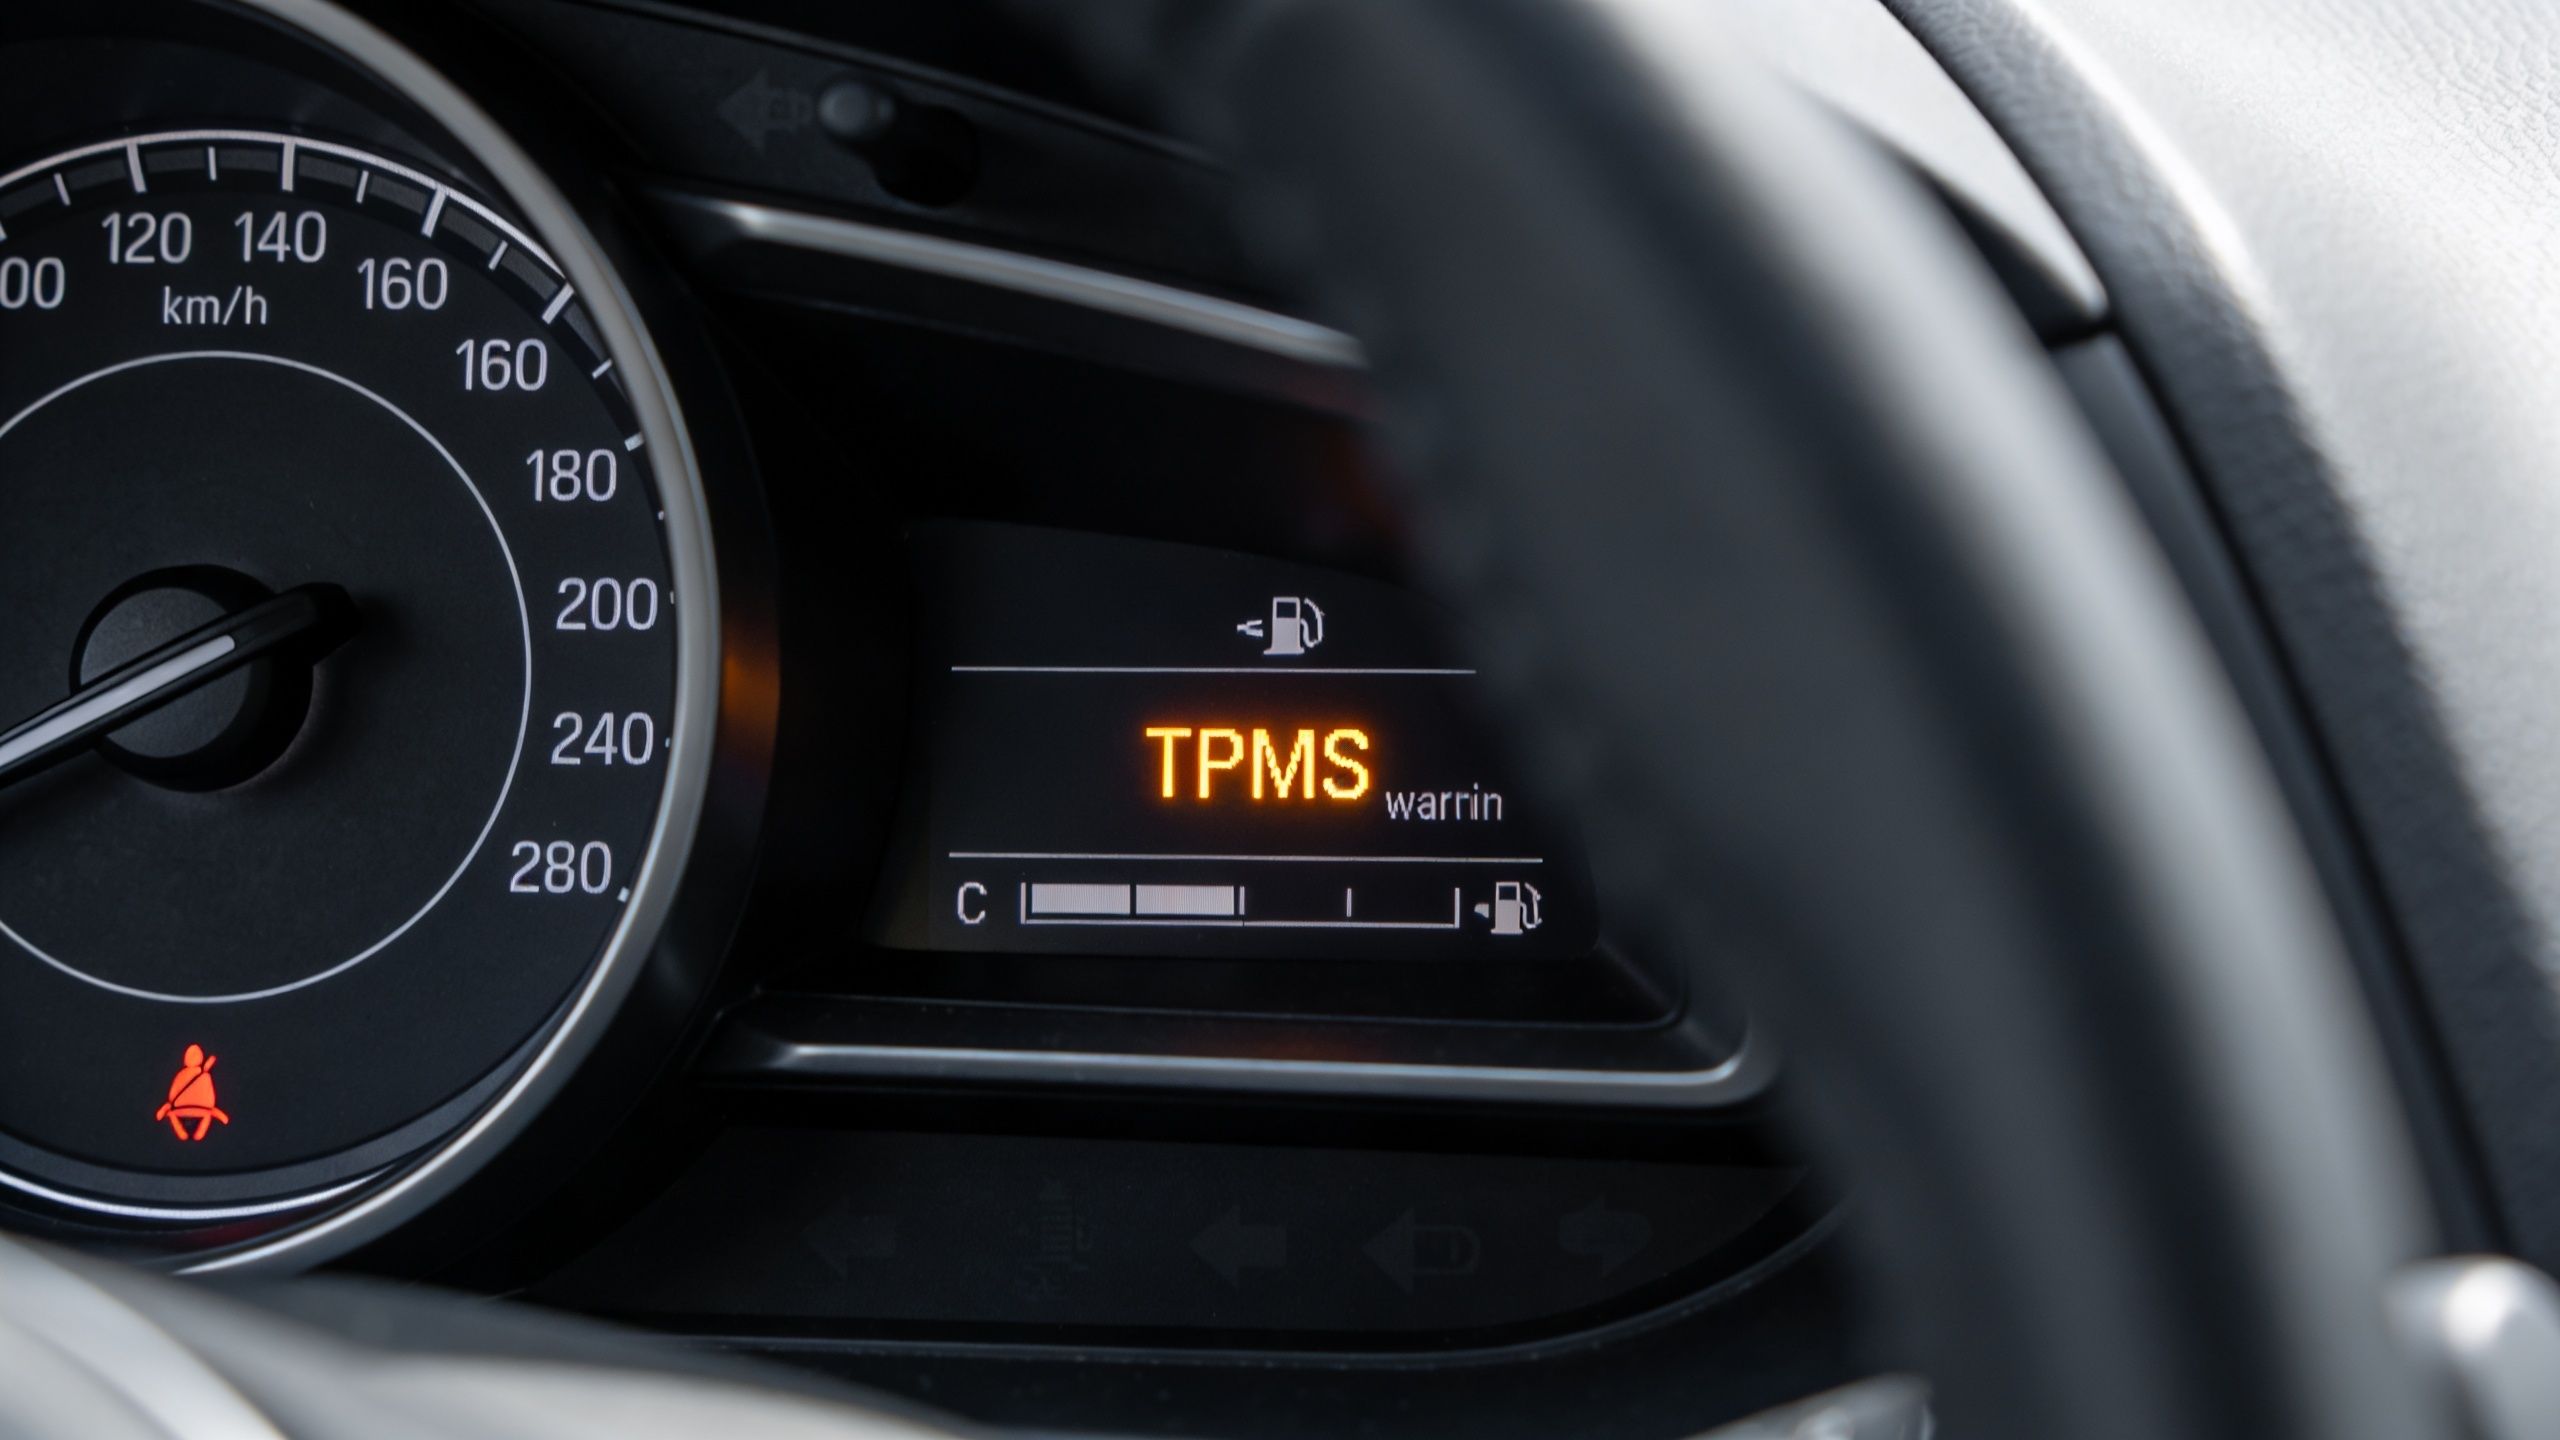
TPMS is a warning system, not a precision gauge. It tells you pressure has dropped enough to deserve attention. It does not tell you which tire is only slightly low, whether the reading changed because of a cold morning in North Dallas, or whether a sensor is starting to fail after a tire rotation or replacement.
Solid light versus flashing light
The pattern of the light matters.
A solid TPMS light usually means one or more tires are low enough to trigger the warning. Start with a manual pressure check on all four tires, plus the spare if your vehicle monitors it, and adjust each tire to the door-sticker PSI.
A flashing TPMS light usually points to a system fault. In the shop, that often means a weak sensor battery, a sensor that lost communication, or a relearn issue after tire service.
Use this as a quick guide:
- Solid light: Check and correct tire pressure first.
- Flashing light: Expect a TPMS system problem that may need scan-tool diagnosis.
- Light comes back after inflation: Check for a slow leak, damaged sensor, or a relearn/reset issue.
Why the tire can look normal and still be low
Low tires do not always look low. Shorter sidewalls hide pressure loss better than older, taller tires did, especially on newer SUVs and sedans. By the time a tire looks obviously soft, you may already have uneven wear, extra heat buildup, and a vehicle that does not brake or track as well as it should.
Dallas weather adds another wrinkle. A cool morning followed by a hot afternoon can change the readings enough to confuse drivers, and a quick glance in a parking lot will not tell you much. Check the pressure with a gauge before assuming the light is false.
Common TPMS problems I see in the bay
Some warning lights are simple. Some are not.
If the light came on right after a temperature swing and turns off once pressures are corrected, that is routine. If it flashes, stays on after the tires are set correctly, or keeps returning on the same wheel, the problem is usually with the sensor, valve stem, wheel seal, or a slow puncture that is easy to miss at home.
A few clues help narrow it down:
- The same tire keeps dropping pressure. Suspect a nail, valve leak, or corrosion at the wheel.
- The light showed up after tire work. The system may need a relearn.
- The pressures are correct but the warning stays on. The sensor may not be transmitting properly.
- The light is on before your state inspection. Handle it early, because warning lights can create inspection headaches depending on the vehicle and the issue found during the visit.
If you need a shop to sort out a warning that will not behave, Kwik Kar can inspect the pressure, scan the system, and handle related tire services and TPMS diagnostics without guessing.
When to Skip the DIY and Visit Kwik Kar
Some tire pressure problems are driveway fixes. Others aren’t. The trick is knowing where that line is.
If you fill a tire and it keeps dropping again, you’re no longer dealing with routine maintenance. You’re chasing a leak. That could be a nail, a damaged valve stem, corrosion where the tire seals to the wheel, or damage from a pothole hit.
Signs the problem is bigger than pressure
Some symptoms sound like tire pressure, but they can also point to balance, alignment, or suspension issues. One useful clue is timing.
As noted in this guide to tire pressure-related shaking and ride symptoms, vibrations or shakes that are present at the start of a drive and fade as the tires warm up can indicate underinflation, while a tight, bouncy ride often points to overinflation. If the feeling stays after you correct pressure, the vehicle needs a professional look.
Watch for these situations:
- A tire keeps losing air: That usually means a leak, not weather.
- The TPMS light stays on after inflation: The system may need diagnosis or reset.
- The TPMS light flashes: That points to a sensor or communication fault.
- The vehicle pulls or vibrates: Pressure might be part of it, but alignment or balance may be involved.
- You see uneven wear: Edge wear, center wear, or cupping calls for inspection.
Why local drivers should act sooner, not later
Dallas roads can be rough on tires. Expansion joints, potholes, curb contact, and summer heat all make small issues grow faster. A slow leak that seems manageable this week can turn into a damaged tire if it’s ignored through a long commute.
If you need more than a quick driveway check, it makes sense to have the tire inspected, repaired, or replaced by a shop that handles tire services. That also helps when inspection time comes around, because tire condition matters for passing a Texas state inspection.
If a pressure problem repeats, stop treating it like a one-time air fill. Repeating symptoms usually mean there’s a real fault to find.
If your tire light is on, your car feels different, or you just want a quick pressure check before the next Dallas weather swing, Kwik Kar Oil Change and Auto Care can help with routine maintenance, tire inspections, diagnostics, and state inspection needs so you can get back on the road with confidence.